Setup gitlab runner clusters on OVH Managed Kubernetes
· 20 minutes

After wrestling with the Gitlab runner documentation for a week while deploying our new runners cluster on a dedicated Kubernetes cluster at Packitoo, I want to share my experience, approach, and insights that will save you significant time.
One year ago, I published a blog post about deploying a gitlab bastion with docker-machine on OVH Public Cloud. As explained in that post, we had to plan for changes this year due to the permanent deprecation of docker-machine support.
We chose to continue with OVH as our cloud provider and leveraged their managed Kubernetes service to simplify our infrastructure management.
Our cluster consists of two node pools:
- gitlab-manager: This pool runs the gitlab-manager that receives requests from gitlab.com to create new runners.
- Uses D2-8 instance type (4 vCPU, 8 GB RAM, 50 GB disk) at a monthly rate
- Currently configured as a static node pool with potential for future scalability
- runners: This pool exclusively runs the gitlab-runners created by the gitlab-manager
- Uses R2-15 instance type (2 vCPU, 15 GB RAM, 50 GB disk), I prefer those heavily doted ram server to avoid getting Out Of Memory during compilation process
- Configured with autoscaling enabled, scaling from 0 to 20 nodes
Requirements
- A functional Kubernetes cluster with public IP addresses available.
- Helm installed on your local machine.
- Project Admin access to your Gitlab project.
- The values.yaml configuration file for Helm.
- 20 minutes of time.
Implementation
TL;DR
For quick implementation use the provided configuration, download the values.yaml from GitHub, insert your runner token, and execute the Helm installation.
Requirements for the TL;DR approach: Use gitlab.com as instance Two node pools with minimum specifications:
- gitlab-manager: 4 vCPU, 8 GB RAM, 50 GB disk
- runners: 2 vCPU, 15 GB RAM, 50 GB disk
Otherwise, please review the detailed implementation flow
Commands to execute:
curl https://raw.githubusercontent.com/martient/gitlab-runners-kubernetes-ovh/refs/heads/main/values.yaml > template.values.yaml
sed "s/<gitlab-runner-token>/YOUR_TOKEN/g" template.values.yaml > values.yaml
kubectl create namespace gitlab-runner
helm install --namespace gitlab-runner gitlab-runner -f values.yaml gitlab/gitlab-runner
The installation should end with a success message and display your runner’s status.
Detailed Implementation
- First, download our template configuration file:
curl https://raw.githubusercontent.com/martient/gitlab-runners-kubernetes-ovh/refs/heads/main/values.yaml > template.values.yaml- Obtain your Gitlab runner token:
- Ensure you have Owner access to the Gitlab group or project
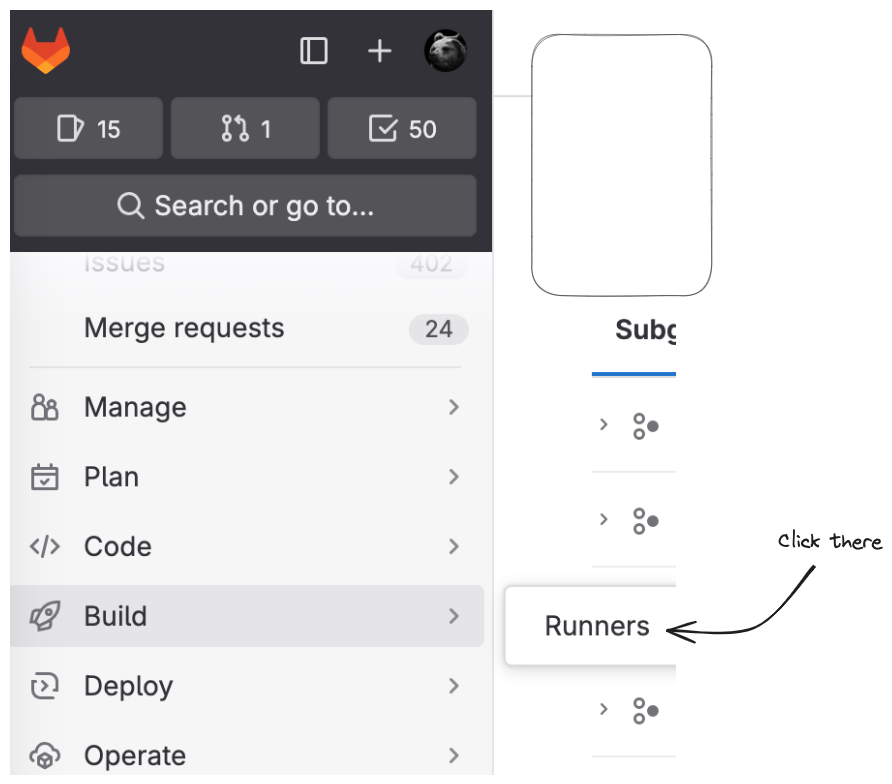
- Navigate to your group/project settings
- Select “CI/CD” from the left sidebar
- Click “Runners”
- Click “New project runner”


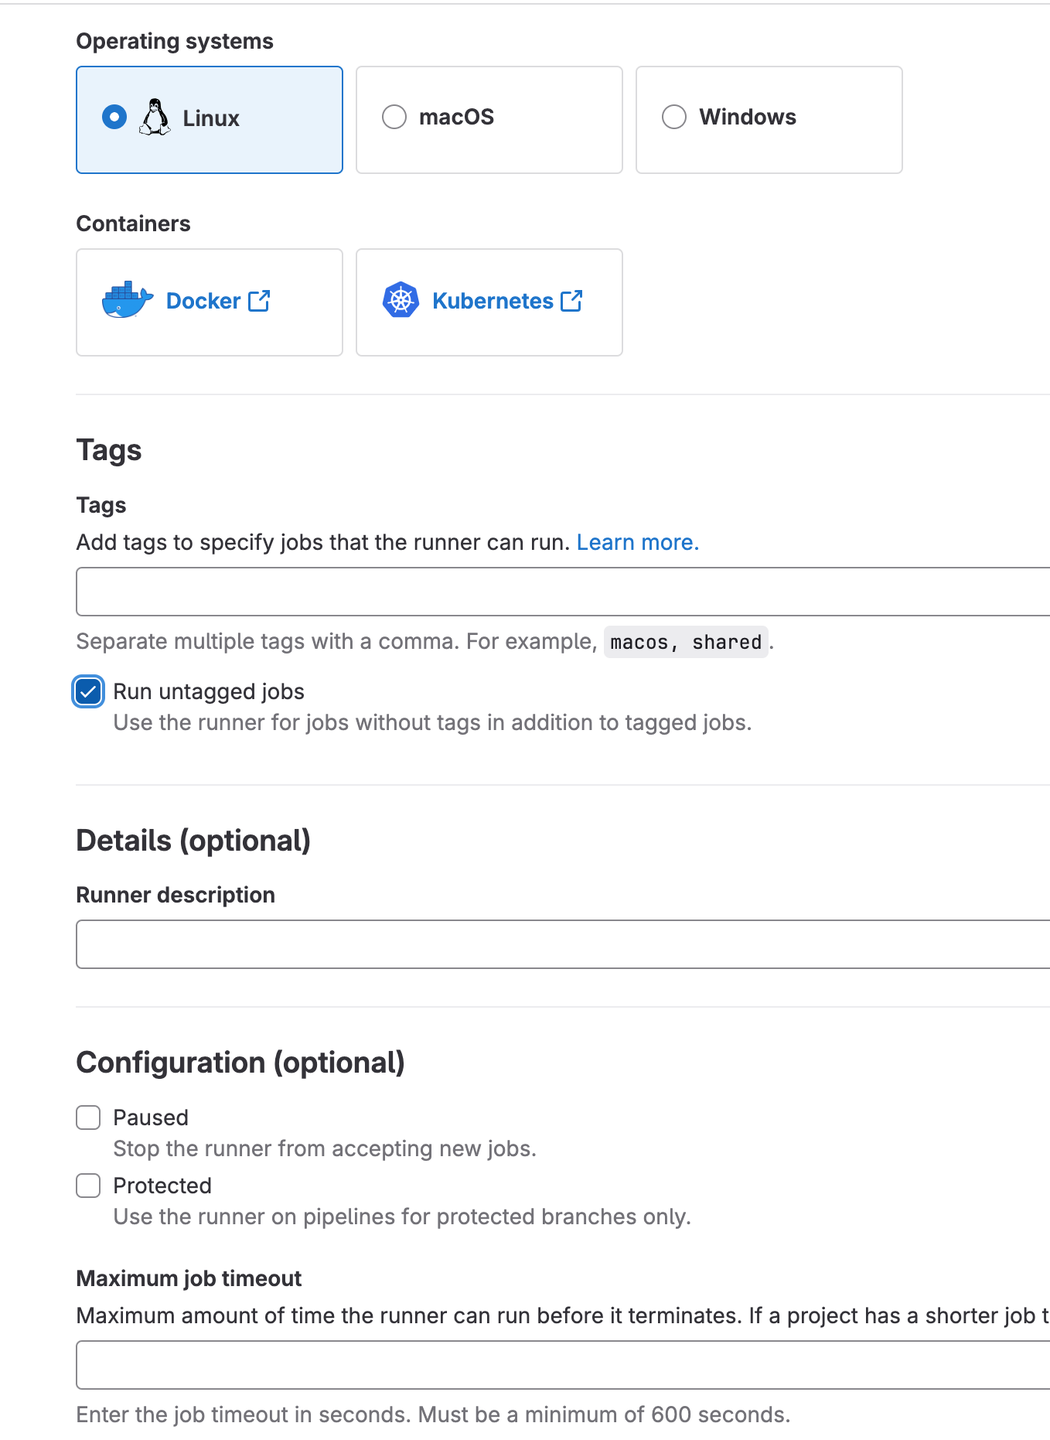
Complete the required runner configuration:

After creation, you’ll receive a token. This is the key piece we need for our configuration.
- Update the configuration file using one of these methods:
Option 1: Using sed
sed "s/<gitlab-runner-token>/YOUR_TOKEN/g" template.values.yaml > values.yamlOption 2: Manual editing
Open values.yaml in your preferred editor and replace <gitlab-runner-token> with your actual token.
If you’re not using gitlab.com, update the gitlabUrl parameter located just above runnerToken.
don’t forget to rename template.value.yaml to value.yaml
- Customizing Node Pools:
For gitlab-manager nodes (if using a different pool name):
nodeSelector:
  nodepool: your-manager-pool-name
For runner nodes:
[runners.kubernetes.node_selector]
nodepool = "your-runner-pool-name"- Deploy
kubectl create namespace gitlab-runner
helm install --namespace gitlab-runner gitlab-runner -f values.yaml gitlab/gitlab-runner
The installation should end with a success message and display your runner’s status.
Recommendations
Docker Build Optimization
Replace standard Docker builds with Kaniko as recommended by Gitlab. Benefits include:
- Improved build performance
- Better security through rootless builds
- Native Kubernetes integration
- More efficient layer caching
Resource Management
- Start with conservative auto-scaling settings
- Monitor runner utilization patterns
- Adjust resource requests and limits based on actual usage